|
A tasty top-off to your holiday meal! 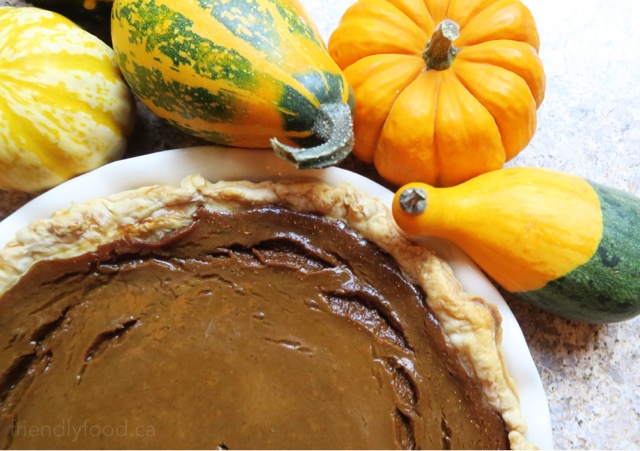 Prep & Cooking: 1 hour 30 minutes + 30-60 minutes chilling time Makes: 1 deep dish or 2 standard 9” pies Pairs well with: Coconut Whipped Topping & Fall Menu Plan Pie Shell: If you can find and want to use a pre-made plant-based pie shell, go for it! Otherwise, find the ingredients below to make your own; 1 cup flour – I use all purpose, but use what you have or substitute a gluten free blend if needed ½ cup cold plant-based butter, shortening or very cold coconut oil ¼ cup of ice water Filling: 1 can (15 oz) pureed pumpkin or 2 cups cooked, pureed pumpkin ½ cup maple syrup or ½ cup sugar 1 (10-12/300-400g) package of silken tofu, drained 2 tbsp corn starch 1 tsp vanilla Spices: 1 tsp ground all spice ½ tsp ground ginger ½ tsp ground nutmeg 1 tsp ground cinnamon ¼ tsp ground cloves OR 2 tbsp of pre-blended pumpkin pie spice ¼ tsp salt Method: Preheat oven to 450°F. If you are creating your own pastry shell, follow the instructions below; In a large mixing bowl, combine flour and plant-based butter. Using a pastry cutter or 2 knives, or forks slice through the butter incorporating or “cutting” it into the flour. When the mixture is well blended and no large lumps remain, slowly add the water, a tablespoon or 2 at a time, and continue mixing until a dough forms and the mixture is no longer crumbly. Form the dough into a ball and wrap in a clean tea towel and refrigerate while you make your filling (see below). When you are ready, roll the dough out using a rolling pin on a floured surface. I suggest “blind baking” your pie shell, whether homemade or not, prior to pouring in the filling. This means pre-baking the crust for a short amount of time. I do this by pricking several holes in the bottom of the crust with a fork and baking for 10-12 minutes without any filling. You can also cover the pie shell in parchment paper and fill the cavity with pie weights or dry beans before blind baking to help the shell keep its shape; however this is not completely necessary. In a large mixing bowl, blend together all of the filling and spice ingredients listed above. Use an electric mixer, hand blender, or whisk to break up any tofu chunks. When all the ingredients are blended, and your mixture is smooth, pour the filling into the pie shell, and bake for 15 minutes. If you are using a premade pie shell choose a deep dish version. If you can’t find one or you have a small pie plate, you may be able to get two standard 9” pies from this filling. If you have extra filling left over, and only one pie shell or plate, you can also bake this filling in a baking dish sans shell or small individual oven safe cups; it just ends up more like a baked pumpkin custard. After 15 minutes, reduce the heat to 350°F and continue baking for an additional 45-60 minutes. Remove from the oven and test for doneness using a knife in the centre of the pie. When it comes out clean, it is baked through. Allow to cool for a minimum of 30 minutes before allowing to chill in the refrigerator for an additional minimum, 30 minutes. Serve on its own, or top with Coconut Whipped Topping. Tips & Variations:
0 Comments
Leave a Reply. |

Archives
December 2020
Categories
All
|